Melted Christmas Candy Ornaments
You know that old-fashioned hard candy that makes an appearance every Christmas?
The super sweet stuff that makes your hands sticky and teeth ache?
In all honesty, I hate the stuff. But the other day on the Rachael Ray Show, I saw this really cute idea that uses this candy in the most creative way. You simply arrange the candy on a baking sheet and bake until it melts.
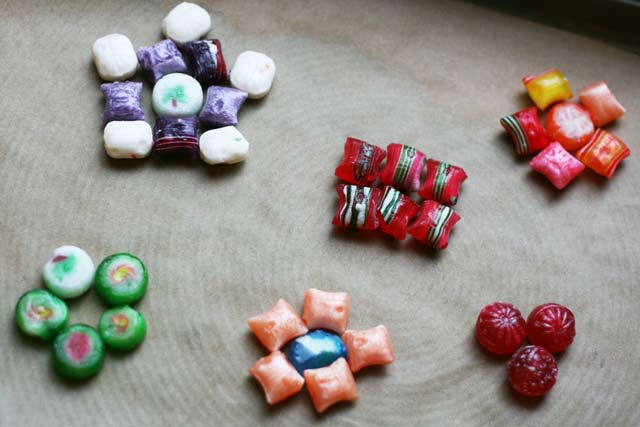
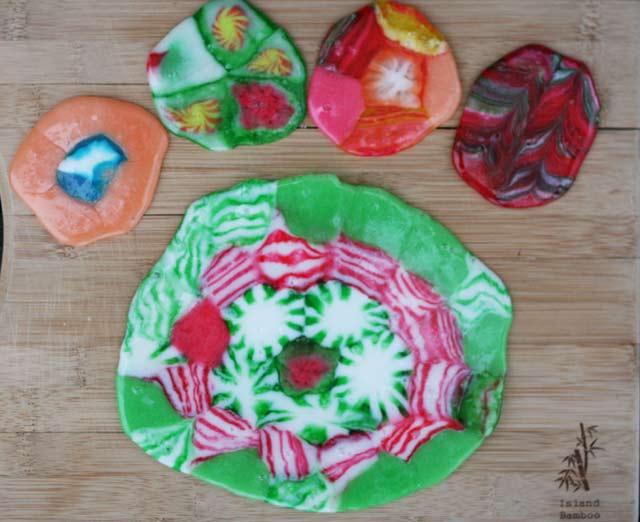
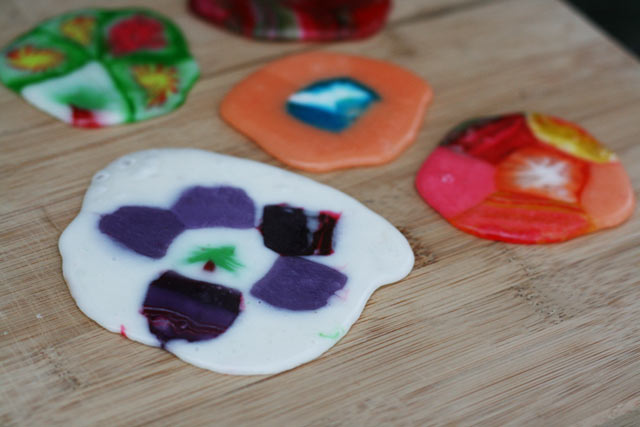
The result? Beautiful, stained-glass looking candy ornaments/decorations.
The entire process takes about 10 minutes. What are you waiting for?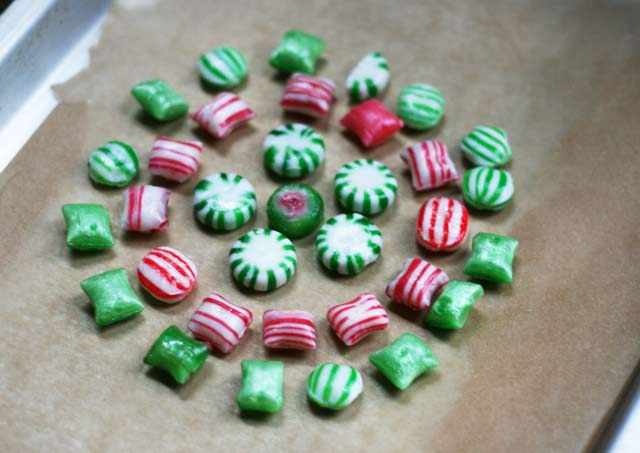
This is a great holiday craft/cooking project to do with your kids! Not only will they love arranging their candy in different shapes and patterns, they will also love seeing the (surprising) end result. I was surprised myself – and I am years beyond my childhood.
This is also a cheap activity. A bag of this candy costs right around $4. I got mine at Walgreens.
What To Do With Melted Candy Ornaments
- Use them as table decorations
- Make hanging ornaments (make a hole through the top of the ornament right when you take the candy out of the oven)
- Make a large one and use it as a serving tray for desserts
- Eat them
New to Cheap Recipe Blog? I am so happy you’re here! Be sure to follow me on Instagram to stay up-to-date on the latest recipe posts and other fun DIY projects that don’t cost a lot of money.
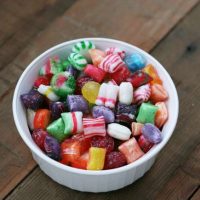
Melted Christmas Candy Ornaments
Have fun experimenting with different colors and shapes. This recipe is foolproof!
Ingredients
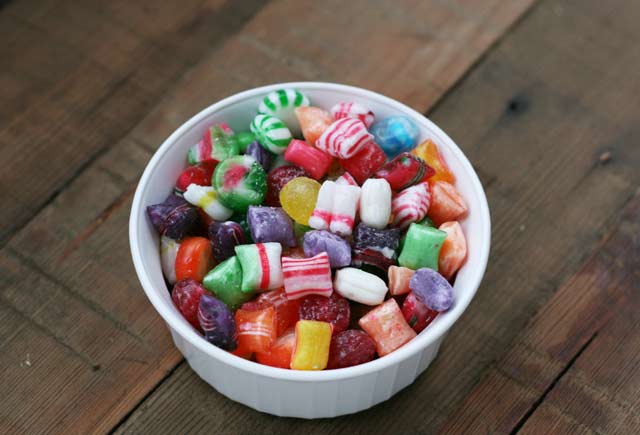
- Old fashioned hard candy
Instructions
Preheat oven to 350F. Line a baking sheet with parchment paper. Arrange candy in desired design on top of the parchment paper.
Bake for approximately 8 to 10 minutes, until candy melts. Keep an eye on the candy while in the oven, as baking times may vary. Leaving it in too long will leave you with a mess! Remove from oven and allow to cool before removing from baking sheet.

These are so cute!! What a cute concept and fun craft 🙂
Thanks! These were so fun to make.
It’s one of those things that should be so obvious to make and yet never would have thought of making. You are a genius!
I found that by using a non-stick cupcake tins, the candy forms nice symmetrical circles, and pop right out after cooling. I use a larger non-stick cake pan to create a “edible plate” to stack the goodies on.